Stop blaming your tent for condensation—the secret to a dry night lies in reading the landscape, not just the gear specifications.
- The fundamental cause of condensation is physics: warm, moist air from your breath and the environment hitting the cold fabric of your tent.
- Your choice of campsite creates a specific “micro-climate” that can either drastically worsen or virtually eliminate condensation before it even starts.
Recommendation: Prioritize campsite selection based on air drainage and ground moisture assessment; this is far more effective than relying solely on tent ventilation.
There’s no disappointment quite like the one a camper feels upon waking up not to the gentle morning sun, but to the damp, cold reality of a sleeping bag soaked by condensation. For years, the common wisdom has been a simple checklist: open your vents, cook outside, and maybe wipe down the interior walls before they start dripping on your face. While this advice isn’t wrong, it treats the symptoms, not the cause. It positions the camper in a constant, reactive battle against moisture, a battle often lost by dawn.
The conversation often revolves around gear—hydrostatic heads, breathable fabrics, and double-wall versus single-wall designs. We obsess over the specifications of the shelter, assuming the problem lies within its fabric walls. But what if the true key to a dry night isn’t inside the tent at all? What if the solution is under your feet and in the air around you, long before you even unpack?
This guide reframes the entire problem. As a micro-climate specialist, I’ll show you that condensation isn’t a gear problem; it’s a physics and geography problem. The real skill is not managing condensation, but avoiding the conditions that create it. It’s about learning to read the land, to understand the subtle clues in the terrain, the vegetation, and the air itself. We’ll move beyond the basics of ventilation and delve into the science of site selection, showing you how to spot a “wet” pitch from a “dry” one, whether you’re on a misty coastline or deep within a silent, inland glen.
By exploring the hidden world of micro-climates, you will learn to predict where moisture will gather and where it will disperse. This article provides the strategic knowledge to turn a game of chance into a science, ensuring your next wild camping adventure is remembered for its views, not its dampness.
Summary: The Micro-Climate Guide to a Dry Night’s Wild Camping
- How to Spot Boggy Ground Before You Pitch Your Tent?
- Natural Windbreaks: How to Use Terrain to Protect Your Tent?
- How Close Is Too Close to a River When Rain Is Forecast?
- Why That Perfect Green Field Might Be a Bull’s Paddock
- How Far Should You Hike from the Road for True Solitude?
- Why Camping Near Your Car Is Not ‘Wild Camping’ in Scotland?
- Why the Golden Hour in Scotland Is Shorter Than You Think?
- Where Can You Legally Wild Camp Near Loch Lomond During Summer?
How to Spot Boggy Ground Before You Pitch Your Tent?
The most fundamental error in campsite selection is choosing ground that is already saturated. Boggy ground acts as a massive moisture reservoir, constantly releasing water vapour into the air around your tent, especially as the ground cools and the air warms inside your shelter. Before you even consider pitching, you must become a student of botany and learn to identify the tell-tale signs of a wet pitch. Your best indicators are the plants themselves, as specific species are nature’s own hygrometers.
Lush, vibrant greenness is often a warning sign, not an invitation. Look closely at the species composition. The presence of plants like rushes, sedges, and the distinctive sphagnum moss are definitive red flags. These are hydrophytes, plants that have adapted to live in waterlogged soil. According to botanical experts, these moisture-loving perennials tolerate high humidity and thrive in conditions that would drown other vegetation. Finding them is a clear signal that the water table is high and the ground retains significant moisture.
As the image above illustrates, the texture of the ground itself is a clue. Spongy, soft earth that gives easily underfoot is a sign of high water content. To avoid a damp night, actively seek out areas with different, drier vegetation like heather, bracken, or coarser grasses that indicate better drainage. A simple pre-pitch checklist of the local flora can save you from a night of internal rain.
- Look for rushes and sedges – they indicate the ground’s capacity to hold standing water.
- Spot corkscrew rush or fiber optic grass – these thrive almost exclusively in boggy, waterlogged conditions.
- Check for swamp mallow or goatsbeard, which are ancient plants that signify a love for water.
- Identify patches of sphagnum moss, a classic and highly visible indicator of high ground moisture retention.
- Watch for cattails (Typha species), which are true wetland plants signaling overly wet soil.
Natural Windbreaks: How to Use Terrain to Protect Your Tent?
The instinct to seek shelter from the wind is a sensible one. A tent buffeted by gales makes for a sleepless night and risks gear failure. Natural windbreaks, such as a rock outcropping, a dense patch of trees, or the lee side of a hill, seem like ideal locations. However, this is a classic camping trade-off. While you gain protection from the wind, you often sacrifice the single most effective tool for reducing condensation: air circulation. Still, stagnant air is a breeding ground for moisture buildup.
When you camp in a sheltered spot, the moist air you exhale (approximately 1 liter of water per person per night) and the vapour rising from the ground has nowhere to go. It becomes trapped around your tent, dramatically increasing the relative humidity of the micro-climate you’ve chosen. As the outside temperature drops overnight, this super-saturated air hits the cold fabric of your rainfly and immediately condenses. Even a slight breeze is invaluable as it continuously replaces the moist air around your tent with drier, ambient air.
If you must use a windbreak, you have to be meticulous about maximising your tent’s own ventilation systems. Research from tent manufacturers confirms this is critical. MSR’s engineering tests, for instance, show that creating cross-flow ventilation by opening doors or vents on opposite sides of the tent is the most effective way to combat condensation in low-wind environments. This creates a “chimney effect,” allowing warm, moist air to escape from the top while drawing cooler, drier air in from the bottom. Even with a sheltered pitch, a well-managed tent can make a difference.
How Close Is Too Close to a River When Rain Is Forecast?
Pitching near a picturesque river or a serene loch is a quintessential part of the wild camping fantasy. The convenience of a nearby water source is tempting, but it comes at a high cost in the currency of condensation. Water bodies are effectively giant, open-air humidifiers. Throughout the day, and especially as the sun sets, water evaporates, creating a localised “dome” of high humidity that extends far beyond the water’s edge.
As camping experts confirm, the closer you are to water, the greater the potential for condensation. This isn’t just theory; it’s a frequently observed phenomenon. Field observations consistently show that camping near water sources significantly elevates humidity levels. The moisture in the air rises dramatically, creating micro-climatic conditions very similar to camping directly in a marshy or boggy area, even if the ground itself feels dry. That cool, misty morning vibe you see over lakes is exactly the moisture you’ll be fighting inside your tent.
When rain is forecast, this problem is compounded. The ambient air is already nearing its saturation point (100% humidity). Add the concentrated humidity from the adjacent river, and you are guaranteeing that any drop in temperature will trigger massive condensation. A good rule of thumb is to pitch at least 50-100 metres away from and, crucially, several metres above the water level of any river, stream, or lake. This allows you to escape the most intense zone of evaporation and positions you above the layer of cold, damp air that naturally pools in low-lying river valleys.
Why That Perfect Green Field Might Be a Bull’s Paddock
You’ve been hiking for hours and suddenly you see it: a perfectly flat, lush, emerald-green field. It looks like a five-star campsite carpet, an oasis of comfort in the rugged landscape. This is one of the most common and deceptive traps for the inexperienced camper. That “perfect” field is often a sign of one thing: an extremely high water table. Its lushness is a direct result of saturated soil, making it a prime location for a night spent battling condensation.
Such fields are often low-lying pastureland, areas where water naturally collects. The soil is frequently compacted by livestock, which further inhibits drainage. As the evening temperature drops, the moisture held in this supersaturated ground will begin to evaporate upwards, straight into your tent’s living space. The perfectly manicured appearance is a warning, not a welcome mat. It signals that the ground is so rich in moisture that it’s practically a sponge.
The Illusion of the Perfect Pitch
Unnaturally vibrant vegetation, especially in a landscape that is otherwise muted, is a clear signal of poor drainage and a high condensation risk. These areas act as natural basins for cold, damp air, which will settle there after sunset. While the legalities of camping in a bull’s paddock are a separate concern, the physics of it are clear: you are setting up camp in a natural humidifier. Instead of being lured by the flat, green aesthetic, you should be actively seeking higher, rougher ground with better drainage.
Field Assessment Checklist: Is This Pitch a Condensation Trap?
- Observe the grass: Is it an unusually lush, deep green compared to the surrounding area? This indicates high ground moisture that will rise as vapour.
- Check for animal signs: Is there evidence of cattle? This often points to low-lying, damp pastureland where moisture collects.
- Assess the vegetation: Is the vegetation unnaturally vibrant and uniform? This can signal poor drainage and an elevated condensation risk.
- Analyse the terrain: Is the area perfectly flat or in a slight dip? These spots often correlate with moisture-retaining compacted soil and are where cold air will pool.
- Compare to surroundings: Does this spot look “too perfect”? Often, the less manicured, slightly sloped ground nearby offers far superior drainage.
How Far Should You Hike from the Road for True Solitude?
While the quest for solitude is often a primary motivator for hiking away from roads, it also has a profound and practical benefit for staying dry: access to superior micro-climates. Areas immediately adjacent to roads, car parks, and other infrastructure are often the worst possible places to pitch a tent from a condensation perspective. This is not just about avoiding noise and light pollution; it’s about escaping the poor “air drainage” of man-made landscapes.
Infrastructure disrupts natural topography. Roads are cut into hillsides, and lay-bys are flattened and compacted. This process creates unnatural depressions and disrupts the land’s ability to drain both water and cold air. As experienced backpackers report, these areas near roads often feature flat, compacted soil with terrible drainage patterns. At night, these artificial basins become collectors for cold, dense, and moist air, which flows downhill and pools in these exact spots. Pitching your tent here is like setting up at the bottom of an invisible, damp lake.
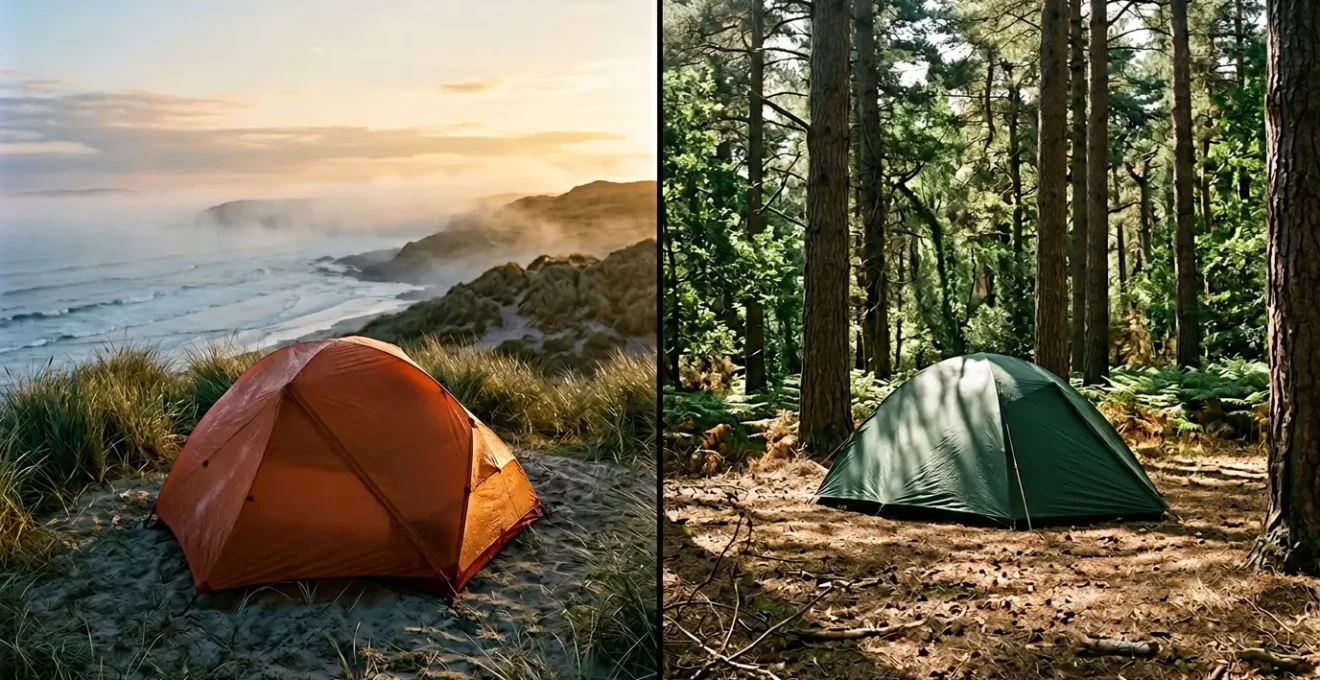
By hiking even a short distance away from the road and gaining some elevation, you fundamentally change your environment. You gain access to the varied micro-topography of the natural landscape: small ridges, gentle slopes, and knolls. These elevated positions, as shown in the ideal campsite above, allow cold, damp air to drain away below you, rather than settling on you. They also tend to have better-drained, rockier soil and are more exposed to the gentle breezes that whisk away moisture. The distance needed is not about miles, but about topography: escape the basin and find a perch.
Why Camping Near Your Car Is Not ‘Wild Camping’ in Scotland?
In Scotland, the legal right to wild camp under the Land Reform Act is predicated on principles of being lightweight, done in small numbers, and leaving no trace. It implicitly, and sometimes explicitly, excludes camping by a vehicle, which is considered more akin to roadside or informal camping. But beyond the legal definition, there is a strong physical and environmental reason why “car camping” spots are condensation traps. The convenience of vehicle access almost always leads you to a poor micro-climate.
Car-accessible spots are, by definition, in low-lying, flat areas. These are the easiest places to build roads and parking areas, and they are also the natural collection points for cold, moist air. This phenomenon, known as cold air drainage, means that as the landscape cools after sunset, the colder, denser, and more humid air flows downhill like water, pooling in valleys and flatlands—exactly where the car parks are. Pitching your tent there means you are setting up in the bottom of this invisible pool of humidity.
Furthermore, the ground in these areas is heavily compacted by vehicle and foot traffic, severely reducing its ability to drain away surface water. You are often pitching on non-porous ground that holds moisture. To combat this, a camper must consciously override the instinct for convenience and apply the principles of micro-climate selection, even if staying close to the car. This means actively seeking out a slightly elevated position, a small knoll or rise, even if it’s just a few feet higher than the surrounding area. It’s about prioritising the physics of air and water over the ease of being five steps from your boot.
Why the Golden Hour in Scotland Is Shorter Than You Think?
The “Golden Hour,” that magical time after sunset when the world is bathed in soft light, is also the start of “Condensation Hour.” This is the period when the physics of condensation kick into high gear, a process that is particularly rapid and dramatic in northern latitudes like Scotland. The key trigger is the rapid drop in temperature that occurs as soon as the sun dips below the horizon. This temperature drop is the catalyst that turns the invisible water vapour inside and outside your tent into liquid water on your tent fabric.
The air inside your tent is always more humid than the air outside. It contains a significant amount of moisture from your own breath. The problem becomes acute when the outside temperature plummets. The cold tent fabric then acts as a condensing surface for all this warm, moist internal air. The point at which vapour turns to liquid is called the dew point. The faster the temperature drops to meet the dew point, the more aggressive the condensation. A real-world camper report illustrates this perfectly: even at a frigid 15°F (-9°C) with maximum ventilation, a heavy layer of frost (frozen condensation) formed inside the tent due to the extreme temperature differential.
In Scotland, especially in spring and autumn, the temperature can drop by 10-15 degrees Celsius very quickly after sunset. This means the dew point is reached much faster and with more intensity than in climates with more gradual temperature changes. You have a shorter window of falling temperatures before condensation begins in earnest. This highlights why pre-emptive site selection is so vital. If you’ve pitched in a low-lying damp spot, this rapid temperature drop will turn that area into a condensation factory almost instantly.
Key takeaways
- Condensation is pure physics: it happens when warm, moist air comes into contact with a surface that is at or below the dew point temperature.
- Campsite selection is the most powerful, proactive measure you can take. It’s about avoiding moisture-rich micro-climates in the first place.
- Learn to read the landscape: prioritise high, dry ground with good air drainage over flat, lush, and sheltered spots. Your tent’s ventilation is your second line of defence, not your first.
Where Can You Legally Wild Camp Near Loch Lomond During Summer?
The situation around Loch Lomond is a perfect case study in the conflict between regulation and the physics of condensation. Due to high visitor numbers, seasonal byelaws are in effect in the Loch Lomond & The Trossachs National Park, restricting wild camping to designated permit areas or formal campsites during the summer months. While this manages environmental impact, it often forces campers into sub-optimal locations from a micro-climate perspective.
Designated zones are typically chosen for accessibility and durability, which often means they are in convenient, low-lying, flat areas—frequently near the water’s edge. As we’ve established, these are the exact characteristics of a condensation-prone site. You are being asked to camp in a natural basin for cold, damp air. This doesn’t mean a dry night is impossible, but it does mean you must shift your strategy from macro-selection (choosing a great hill) to micro-selection (finding the best possible spot within a flawed area).
Even within a designated permit zone, the principles of micro-topography still apply. Your mission is to survey the small patch of land you’re allowed to use and find the driest possible plot. Look for a spot that is even a foot or two higher than the rest. Avoid the temptation to pitch right by the water, instead opting for the part of the zone furthest from the shore. Seek out any patch of ground that seems to catch a slight breeze. You must also become an expert in maximising your tent’s performance: use all guy lines to create maximum separation between the inner and outer tent, and open every vent and door possible to encourage airflow. In a restricted zone, you are making the best of a compromised situation by applying your expert knowledge on a smaller scale.
Frequently Asked Questions About Wild Camping and Condensation
Why do designated camping areas have more condensation?
Designated zones are typically chosen for accessibility, placing them in convenient low-lying areas near water sources where humidity is naturally higher.
How can I reduce condensation when forced into specific camping areas?
Fine-tune your flysheet tension to maximize clearance, open all vents and doors for circulation, and use guy ropes for stability while improving airflow.
Can I find better spots within a designated camping area?
Yes, look for micro-ridges, patches of breezier ground, or spots furthest from the water’s edge even within the permitted zone.